This was going to post last week, but with the snafu with the site and a busy week at work, it just didn’t happen. So, here it is! Last Monday was my anniversary with Derek, and with Valentine’s day coming up I figured everyone could use these heart-shaped cakes! Not to mention I had to follow up my post on how to bake heart-shaped cakes in soup cans!
Red velvet cake is always fun – it just looks like it should be delicious! Luckily, it is! I used Paula Dean’s recipe and made only a few slight changes, not counting the baking container switch-a-roo….
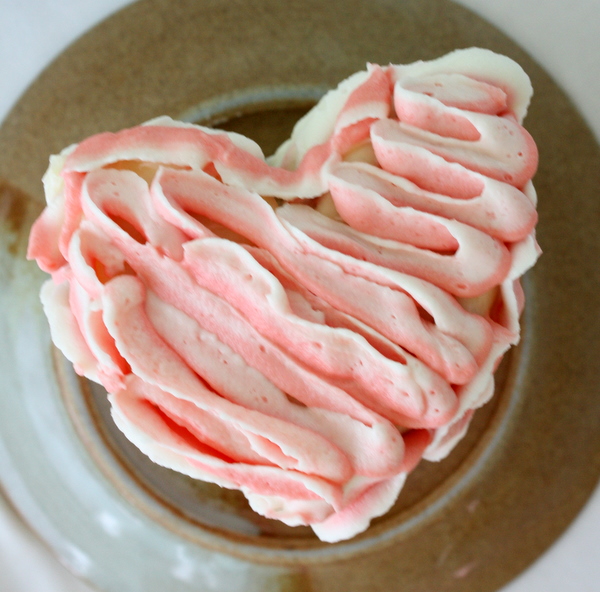
Red Velvet Anniversary Heart Cakes
Adapted from Paula Dean
1 cup sugar
1/2 cup butter, room temperature
1 eggs
2 Tbsp cocoa powder
15 drops red food coloring
1 1/4 cups cake flour
1/2 tsp vanilla extract
1/2 tsp salt
1/2 cup buttermilk
1/4 tsp baking soda
1/2 Tbsp vinegar
16 oz cream cheese, room temperature
1/2 cup butter, room temperature
4 cups powdered sugar, sifted
vanilla extract
Butter and flour the soup cans you will be using to bake the cakes.
Cream butter and sugar until light and fluffy. Add the egg, mix, and scrape down sides. Add food coloring, cocoa powder, and vanilla: mix until incorporated.
In a separate bowl, combine cake flour and salt.
Add flour mixture to butter mixture, alternating with the buttermilk. Combine baking soda and vinegar in a separate bowl, then add to the batter and mix until incorporated.
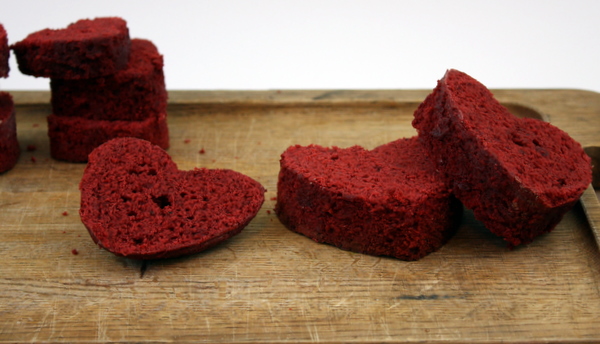
Divide batter among soup cans, filling about 1/2 way full. Bake at 350 F for 30 minutes for 14.5 oz cans, and 45 minutes for 29 oz cans – or until cake tester comes out clean.
Let cool in the cans for 30 minutes, then run a butter knife around the edges of the cake and gently guide the cakes out the bottom of the cans. Wait to decorate until cakes are completely cooled.
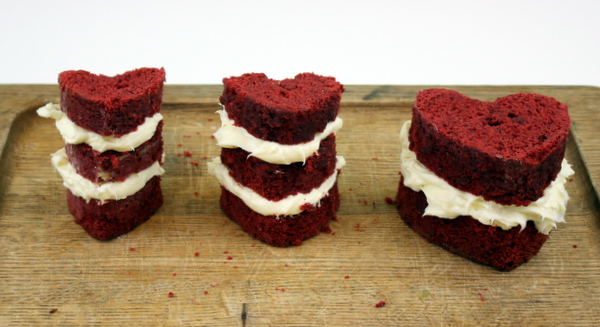
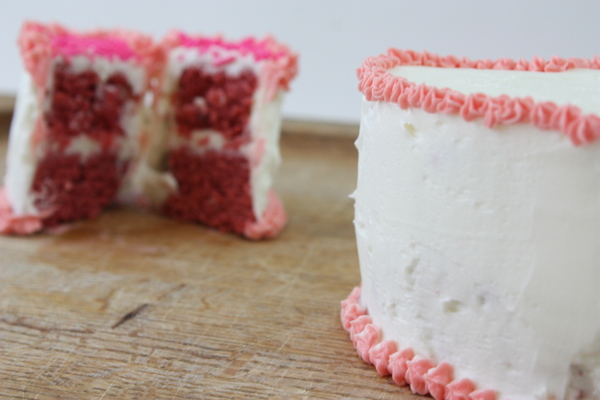
To make the frosting, cream the butter and cream cheese until smooth and light. Add vanilla extract, then powdered sugar until the desired consistency is reached (at least 2 cups). Add food coloring as desired. Spread, pipe, or decorate to your hearts content!
These are gorgeous! Love the individual cuts! This will make me eat just one and then keep going back for more and more!
Thanks, Margarita!! This is way easier than making a huge cake – and you can decorate them all differently!