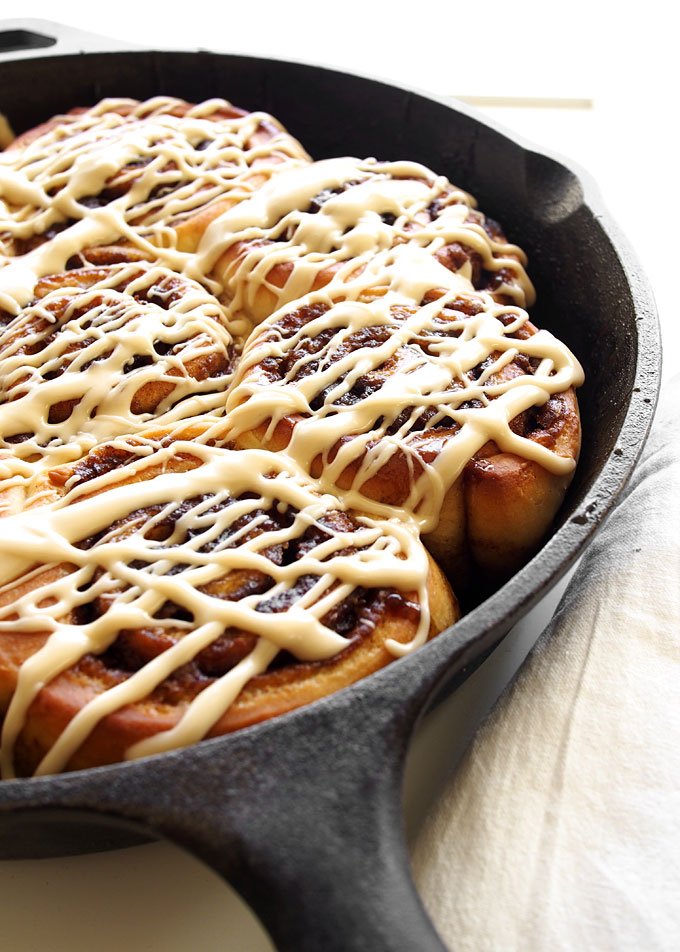
I’m having a serious maple moment. As in, I frequently find myself thinking “What would this be like with maple syrup on it?” or “what would this taste like if I swapped ___ for maple syrup?” or “hey, nobody is here to judge me, I’m gonna drink that maple syrup straight from the bottle!” … For real. It is so. freaking. delicious. I’m sure I’ve known this forever, but it’s really hitting home right now. It takes a LOT of restraint to not glug down the entire jug (plus, that’s an expensive habit!). I literally poured maple syrup on my roasted veggies for dinner the other day: please don’t judge me.
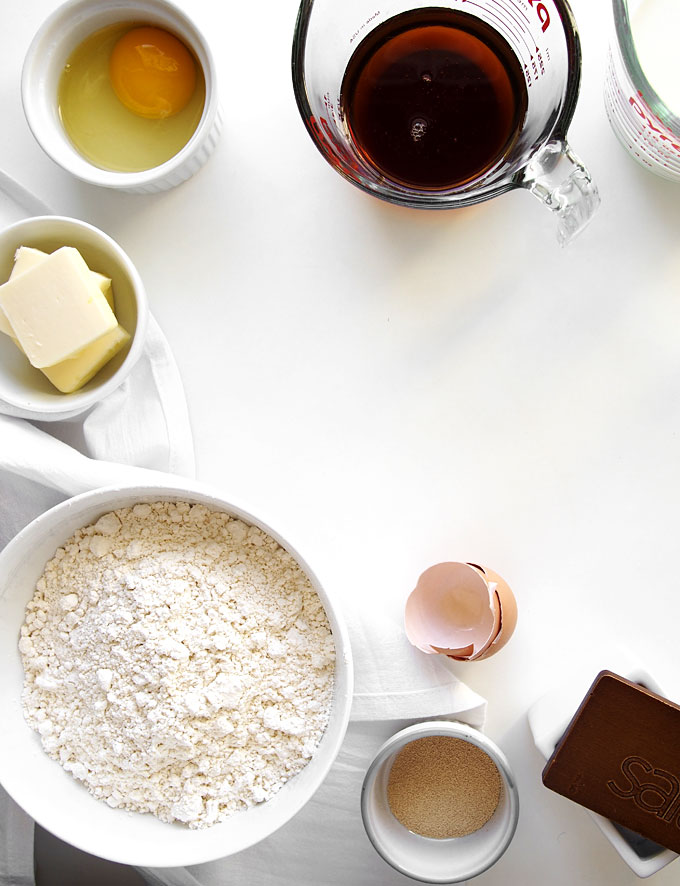
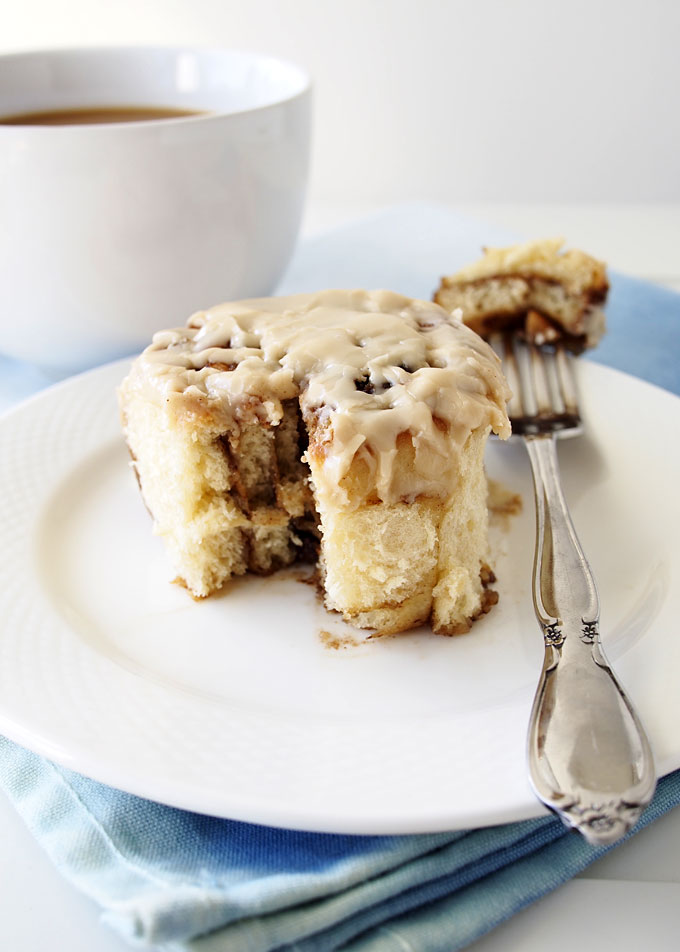
A few weeks ago, right before I went to Cindy’s to make the molasses scones, I thought “OMG I must make cinnamon rolls with MAPLE!” So I did. I know this is nothing revolutionary, but I was thrilled! I realized, about halfway through baking them, that other people probably use maple extract or something to give a super mapley flavor — I was not that person. I just swapped out maple syrup for the sugar in the dough (hellooo sticky goodness!), and for the liquid in the glaze. So, they’re mapley and sweet, but not like sucking on a maple tree. I mean, that sounds kinda rough and uncomfortable… you know what I mean. Plus, they don’t taste FAKE mapley. That’s a win in my book!
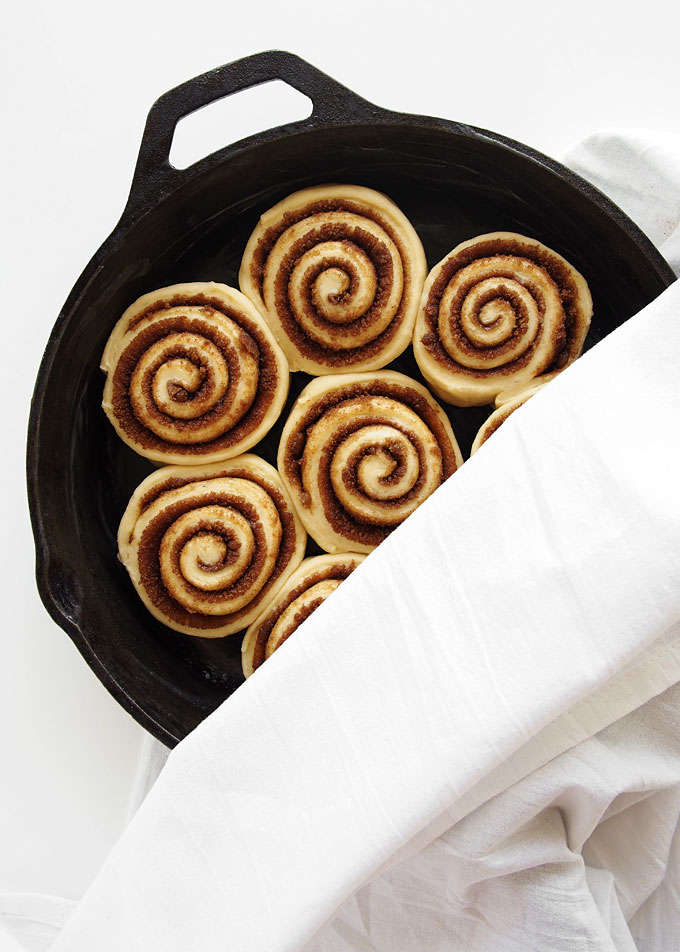
As we enter fall fo reals, I’m beginning to pawn more food off on my friends. I can’t eat all these cinnamon rolls! I just can’t. I can’t eat cookies all by myself! So I give them away. The case for roommates is seriously looking better and better, otherwise I’m gonna drastically change in size over the winter, if ya know what I mean. 😉
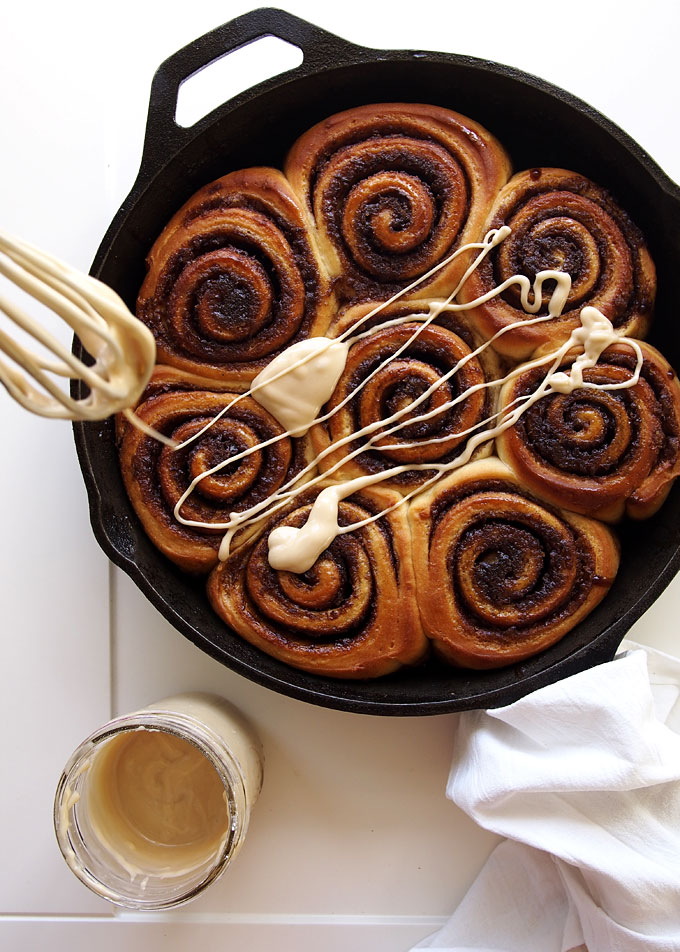
Make these suckers this weekend! These are the kind of lazy fall Saturday project I LIVE FOR. Wake up, make coffee, make dough, read, chat, lounge: CINNAMON ROLL. As a verb. As in, to cinnamon roll. Maple roll? I dunno. Whatever: GET ON IT! Have a lovely Wednesday, friends! xo
- Dough
- ¾ cup whole milk
- 4 Tbsp unsalted butter
- 2¼ tsp yeast
- 3½ cups (plus more) flour, divided
- ½ cup maple syrup (high quality, please!)
- 1 large egg
- 1 tsp salt
- butter for pans
- Filling
- 1 cup (packed) golden brown sugar
- 2 Tbsp ground cinnamon
- 5 Tbsp unsalted butter, room temperature
- Glaze
- 3 Tbsp maple syrup
- 2 cups powdered sugar
- Heat the milk and butter together until the butter has fully melted. Let cool to 115F, then sprinkle the yeast on top and let proof for five minutes.
- When the yeast has proofed, pour the mixture into your mixing bowl and add one cup of flour, plus the maple syrup and egg.
- Mix for a few minutes, until homogeneous, scraping down the sides of the bowl as necessary. Add the salt and 2 more cups of flour, and continue mixing with a dough hook, adding more flour as necessary to keep the dough from sticking to the sides of the bowl.
- After a few minutes, turn the dough out onto a floured surface and knead by hand until very smooth. The dough will be quite sticky, so you'll need to add more flour — just try to add as little as possible, while still getting the dough worked to a smooth ball.
- When the dough is smooth, place in a lightly oiled bowl and cover. Let rise until doubled in size (about 2 hours).
- Butter a 9×12 baking dish, or two 8×8 square pans.
- When the dough has doubled in size, turn it out onto a lightly floured surface, and roll out into a 11″x18″ rectangle. If it is pulling back too much, let it rest for five minutes before trying again.
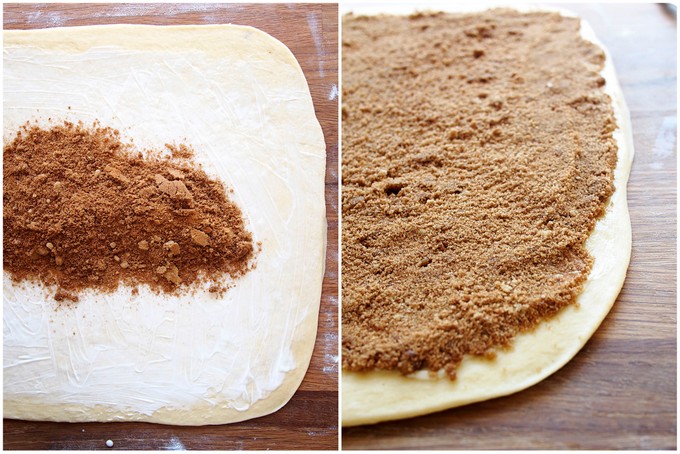
- Spread the 5 Tbsp of room temperature butter over the rectangle of dough, leaving 1 cm around the edges without butter. Mix together the brown sugar and cinnamon, and spread evenly over the buttered area, and gently press into the dough. Roll the dough tightly, from the longer side, into a log. Pinch the seam closed.
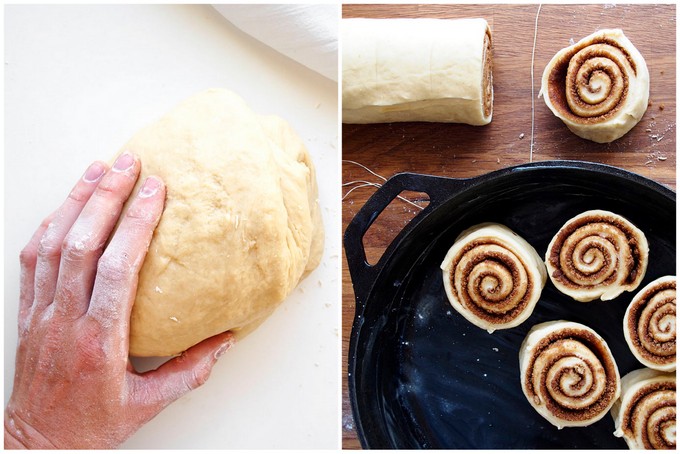
- Mark the log at 1.5″ intervals, and then cut the rolls. Place the rolls into your dish, evenly spaced with about 2 cm between each other. Cover, and let rise for about 45 minutes.
- Preheat the oven to 400F, and when the rolls are ready, bake for 20 minutes. The tops should be just turning brown. Remove from the oven and, after 30 seconds, invert onto a rack. Let the rolls cool for 10 minutes inverted, then turn them back over to right-side-up.
- To make the glaze, mix together the maple syrup and powdered sugar, adding more of either to reach your desired consistency. Pour over top of the rolls once they've cooled significantly!
Mary, oh Mary. You are KILLING me with all of your recipes and perfectly gorgeous photos. Every time I go to my Feedly, I’m pulled into each and every one of your recipes. Great work and I do have a penchant for cinnamon rolls and have never made them, ALWAYS vent about the fact but never do anything about it. I’m a cinnamon roll maker lost cause.
Heidi!! You are the sweetest! Thanks so much for the kind words… It means a lot coming from a bigwig like you! 🙂 MAKE SOME CINNAMON ROLLS!! They’re the best. Especially with maple! Xoxo
It sure seems to be cinnamon roll season! I love the maple in these! I could be your roommate, but then you’d probably make me do yoga. Well, that’s not so bad!
Haha! I would force both yoga AND maple cinnamon rolls upon you, as my roommate. Neither of which are bad, I think! 🙂 xo
These look so great, but with so much prep time (obviously mostly proofing and foot tapping, but still needs to get done!), can you ever have them for breakfast? Is there a way to make them the night before, or should I be content with them being delicious as more of a late morning snack?
Yes, my life is truly difficult, woe is my breakfast without these deliciousnesses.
Hey Chris! I’ve never done it before, but a lot of cinnamon roll recipes say to make them the night before, and stick them in the fridge before the second rise. Then, in the morning, bring them back to room temperature and bake! You might consult some other cinnamon roll recipes (that actually tell you to do that) before taking my word for it, but I’ve heard it can be done! Enjoy! xo
Hi Mary,
What is the prep for baking them in a cast iron baking dish like your photos show? Should the pan be preheated? Or would it just work better in a 9×12 or 8×8?
Hi Anna! I do not preheat the pan, but I do butter it! They will end up slightly crispier, since they’ll continue baking after they come out of the oven (you can take them out a few minutes early!). Enjoy! xo