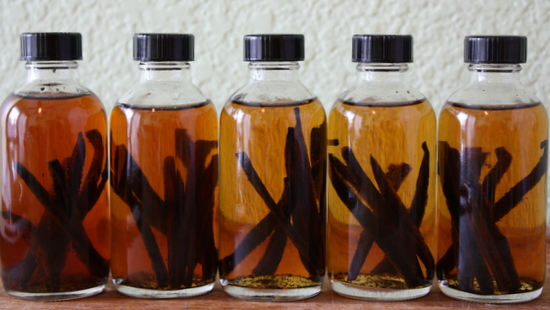
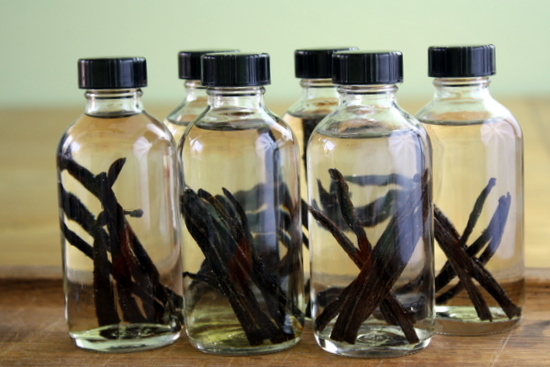
 Making vanilla extract is another I-didn’t-know-it-was-possible-until-now recipes for me, and WOW was it easy! I’m making these for Christmas presents (please pretend to be surprised and thrilled, those of you who receive these!), and thought I’d post them now so you’ll all have time to do the same. They take about a month to be ready, and apparently only get better with time. The picture above was taken after 1 week, at which point I took a whiff and discovered it smells like vanilla, rather than vodka! I imagine after a few more weeks it will be AWESOME.
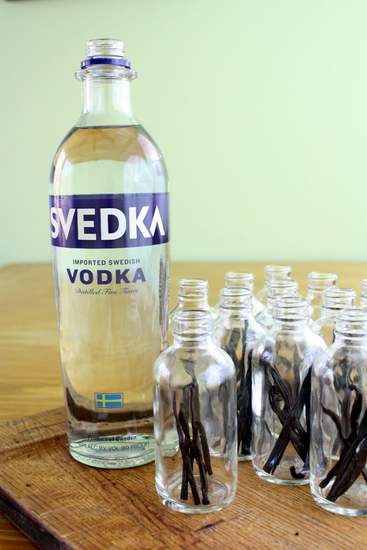
This process could not be simpler: cut open vanilla beans, stick them in jars of vodka. Wait. Shake the jars. Wait. Give as gifts that everyone will be super amazed you made. Pretend it was difficult… wait, what? It wasn’t, don’t lie about it.
After reading a million and a half blogs from other people who have done this, I decided to go with Svedka Vodka because, apparently, it has a neutral flavor, but is not the cheapest nor the most expensive kind you can buy. I know nothing of this, so feel free to follow your alcohol knowledge if you have more than I do.
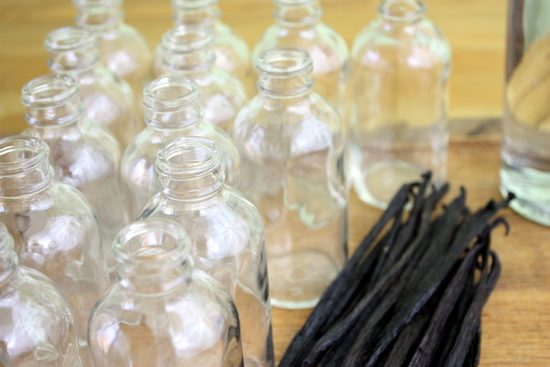
I ordered 4 oz boston jars from Specialty Bottle, and Tahitian vanilla beans from Beanilla. I also know very little about vanilla beans, so feel free to educate me there.
DIY Vanilla Extract
18 whole vanilla beans
1.5 liters vodka
12 four oz jars
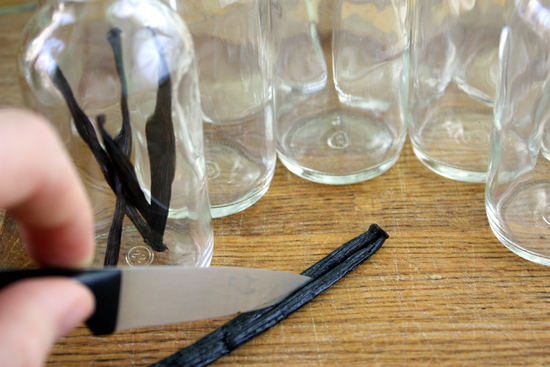
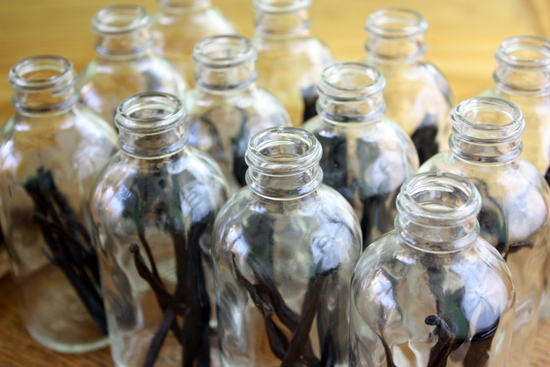
With a knife or scissors, split vanilla beans lengthwise, then across – you should end up with four pieces per bean. Put six pieces in each bottle, add 4 oz of vodka, tighten lid, and shake. Let the bottles sit, away from sunlight, for a month – shaking every week for better flavor. Dress the bottles up with cute labels and give away!
After a month the vanilla should be ready to use just as you would store bought vanilla extract! As your bottle gets used up, feel free to add more vodka in order to replenish it – the beans will still have enough juice to keep it flavorful for quite a while!
I am so excited to try this!! Thanks:)
Do you makes vinegar infused flavors? Hot ones especially my husband likes those the best. I like this vanilla idea very much.
Made the vanilla extract and loving it! I invested a bit more with better Vodka, better vanilla beans and a better bottle. Used Infinity Jars for storing and they keep the extract smelling fresh.
http://infinityjars.com/collections/vanilla-bottles